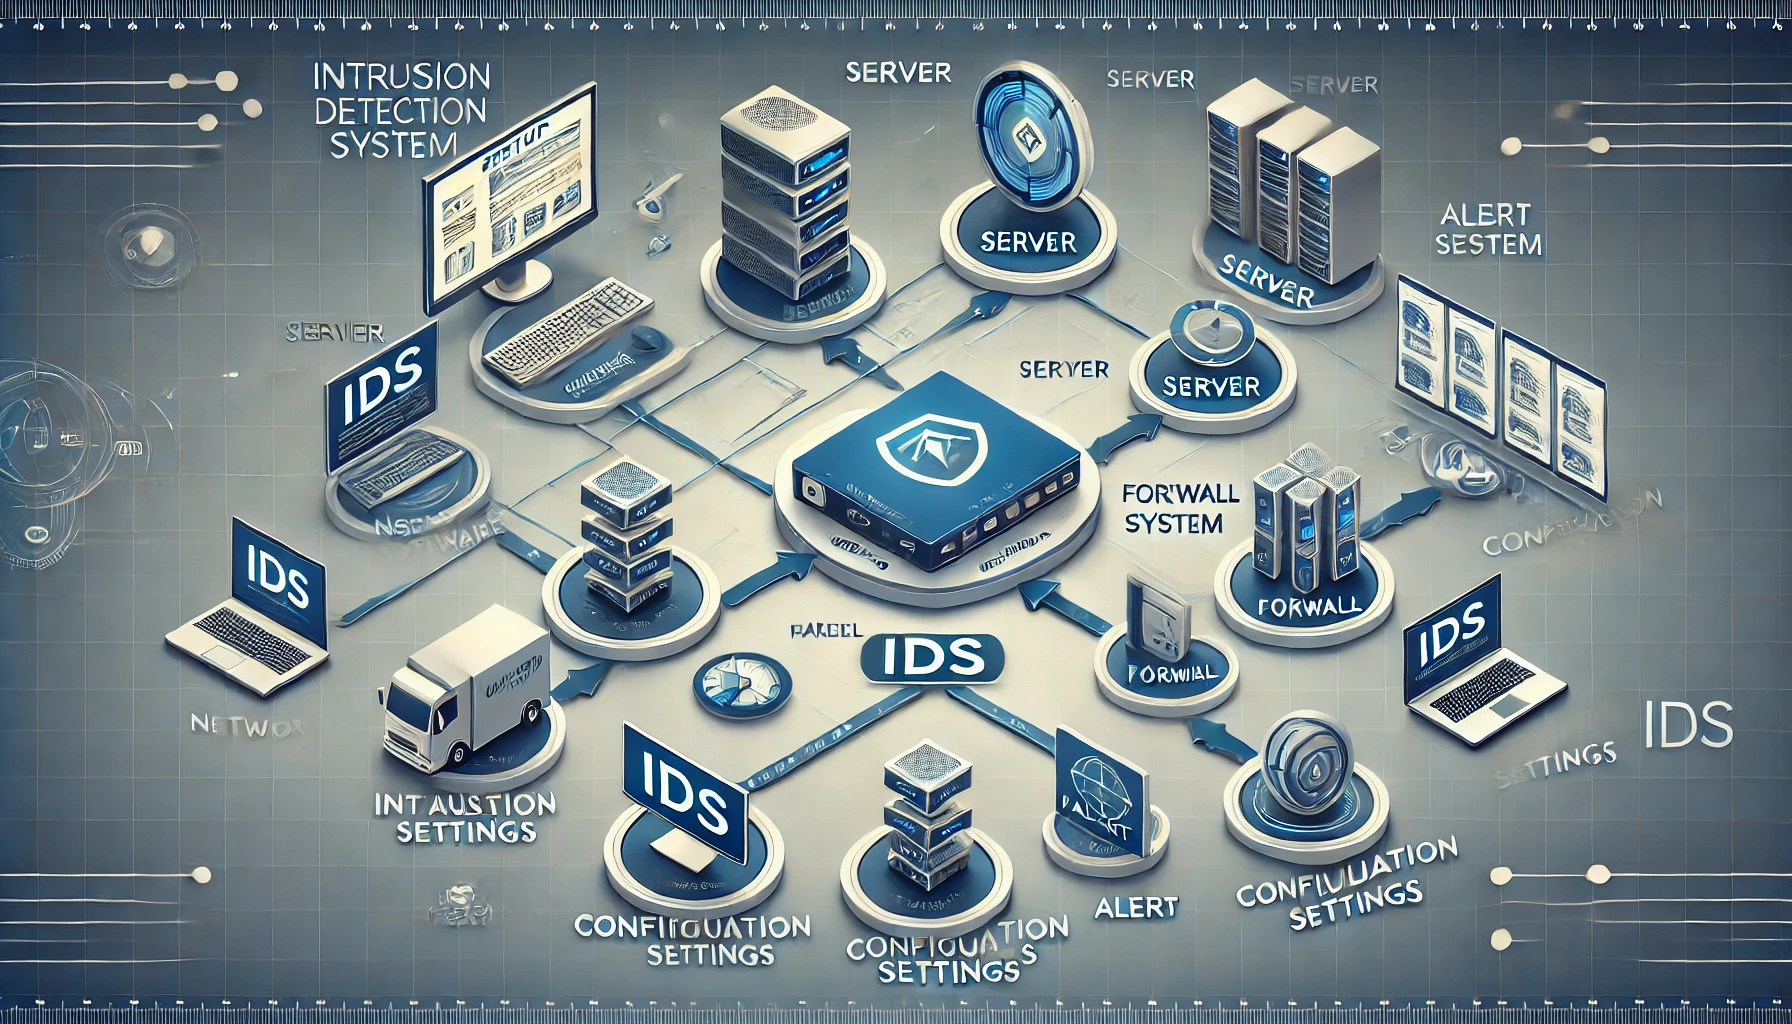
In today’s interconnected world, protecting your digital assets from unauthorized access and cyber threats is more crucial than ever. An Intrusion Detection System (IDS) serves as a critical component in your cybersecurity arsenal, acting as an early warning system to detect and respond to potential threats. Setting up an IDS might seem daunting, but with the right guidance, it becomes a manageable task. This article will walk you through the steps to set up an IDS, ensuring your network remains secure against cyber threats.
Understanding Intrusion Detection Systems (IDS)
An Intrusion Detection System is designed to monitor network traffic for suspicious activity and potential threats. When a threat is detected, the IDS generates alerts to inform the network administrator. There are two primary types of IDS: Network-based IDS (NIDS) and Host-based IDS (HIDS).
- Network-based IDS (NIDS): Monitors network traffic for malicious activities.
- Host-based IDS (HIDS): Monitors the activities on individual devices or hosts.
Each type has its specific use cases, and in many instances, a combination of both provides the best protection.
Step-by-Step Guide to Setting Up an IDS
1. Assess Your Needs
Before diving into the installation, it’s essential to assess your security needs. Consider the size of your network, the types of devices connected, and the potential threats you face. This assessment will help you choose between NIDS and HIDS or decide if you need a hybrid approach.
2. Choose the Right IDS Software
There are several IDS solutions available, both open-source and commercial. Some popular open-source options include Snort, Suricata, and OSSEC. Each has its strengths:
- Snort: Known for its robust network traffic analysis and packet logging capabilities.
- Suricata: Offers multi-threading for higher performance.
- OSSEC: Focuses on log analysis, integrity checking, and rootkit detection.
3. Plan Your Deployment
Decide where to place your IDS sensors. For NIDS, sensors should be placed at critical points in your network, such as the perimeter and internal network segments. For HIDS, deploy the system on critical servers and endpoints.
4. Install the IDS Software
Follow the installation instructions specific to your chosen IDS. For instance, to install Snort on a Linux system, you would follow these steps:
shellCopy codesudo apt-get update
sudo apt-get install snort
5. Configure the IDS
Configuration is crucial to ensure your IDS functions correctly. Customize the configuration files to define what constitutes suspicious activity. For example, with Snort, you would edit the snort.conf file to set up your network variables, rules paths, and output plugins.
6. Set Up IDS Rules
IDS rules define what network traffic should be flagged as suspicious. Snort and Suricata, for instance, use rule sets that can be customized. You can either write your own rules or use pre-defined rule sets from the community or commercial sources.
7. Test Your IDS
Testing ensures your IDS is correctly configured and capable of detecting threats. Conduct both benign and malicious tests to verify the system’s performance. Tools like Metasploit can be used to simulate attacks.
8. Monitor and Maintain Your IDS
Regular monitoring and maintenance are critical. Review alerts daily, update your IDS rules, and ensure the system is running smoothly. Consider integrating your IDS with a Security Information and Event Management (SIEM) system for enhanced visibility and management.
When setting up an Intrusion Detection System (IDS), it is essential to follow best practices to ensure optimal security for your network. Implementing an IDS involves careful planning, choosing the right software, and configuring it to suit your network’s needs. Popular IDS solutions like Snort, Suricata, and OSSEC offer various features to protect against cyber threats. Regular monitoring and maintenance of your IDS are crucial for maintaining network security. Integrating your IDS with a Security Information and Event Management (SIEM) system can provide additional insights and streamline threat management.
Benefits of an Intrusion Detection System
Implementing an IDS offers several benefits:
- Early Threat Detection: An IDS identifies potential threats before they can cause significant harm.
- Improved Network Visibility: Gain insights into network traffic and user behavior.
- Regulatory Compliance: Helps meet various security standards and regulations.
- Incident Response: Facilitates a faster response to security incidents.
- Reduced Damage: Limits the impact of security breaches by detecting them early.
Common Challenges and Solutions
Setting up an IDS can come with its own set of challenges. Here are some common issues and solutions:
- False Positives: Tuning your IDS to reduce false positives without missing real threats is crucial. Regularly update rules and configuration settings.
- Resource Intensive: IDS can consume significant resources. Ensure your hardware meets the requirements and consider load balancing techniques.
- Complexity: IDS systems can be complex to configure and manage. Investing in training or consulting with experts can mitigate this challenge.
Conclusion
Setting up an Intrusion Detection System (IDS) is a fundamental step in fortifying your network’s security. By following the steps outlined in this guide, you can effectively deploy and manage an IDS, ensuring your network is protected against cyber threats. Remember to regularly update your IDS and stay informed about the latest security trends to keep your system robust and effective.
By taking a proactive approach to network security, you can safeguard your digital assets and maintain a secure environment for your organization. Whether you choose Snort, Suricata, OSSEC, or another IDS solution, the key is to remain vigilant and continuously improve your security posture.


